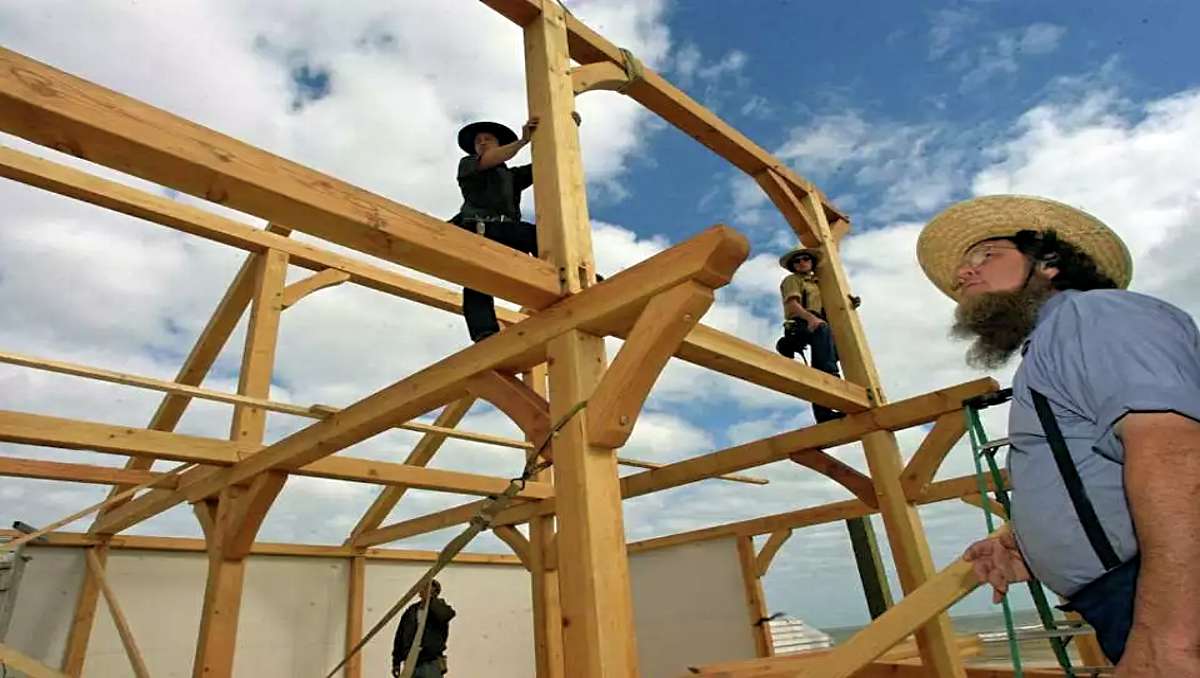
Amish Home Builders in Lancaster County: A Directory
Lancaster County, Pennsylvania, is more than just a picturesque region known for … Read more
Lancaster County, Pennsylvania, is more than just a picturesque region known for … Read more

When it comes to choosing furniture for your home, the decision often … Read more
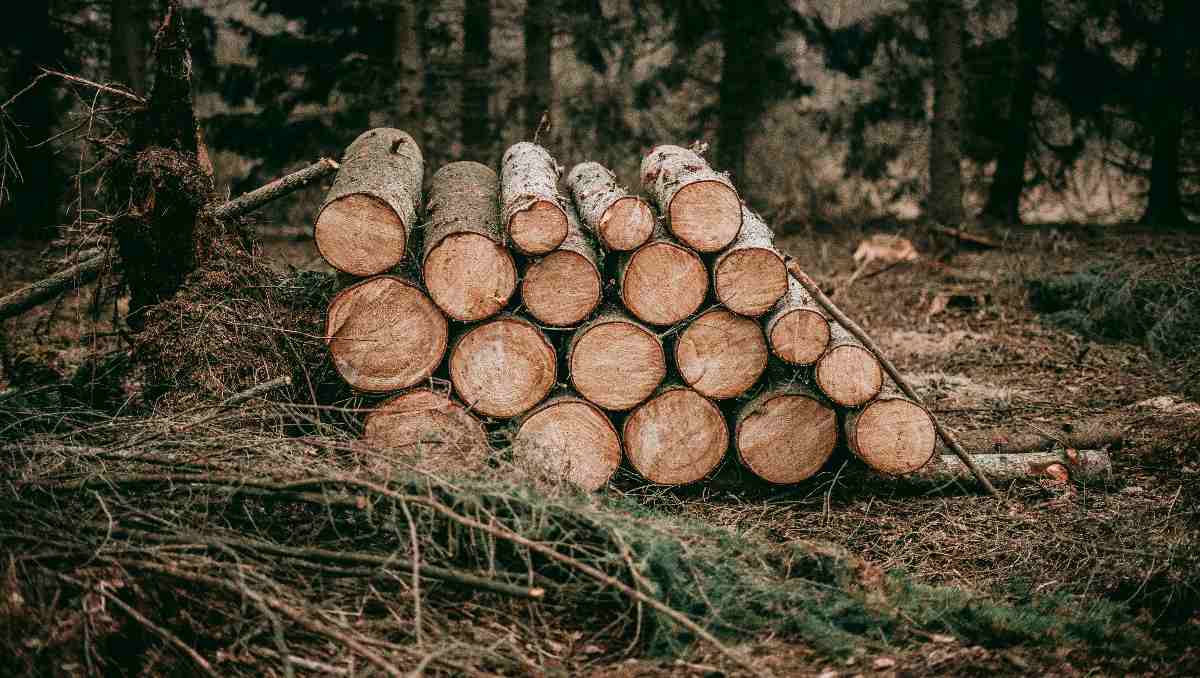
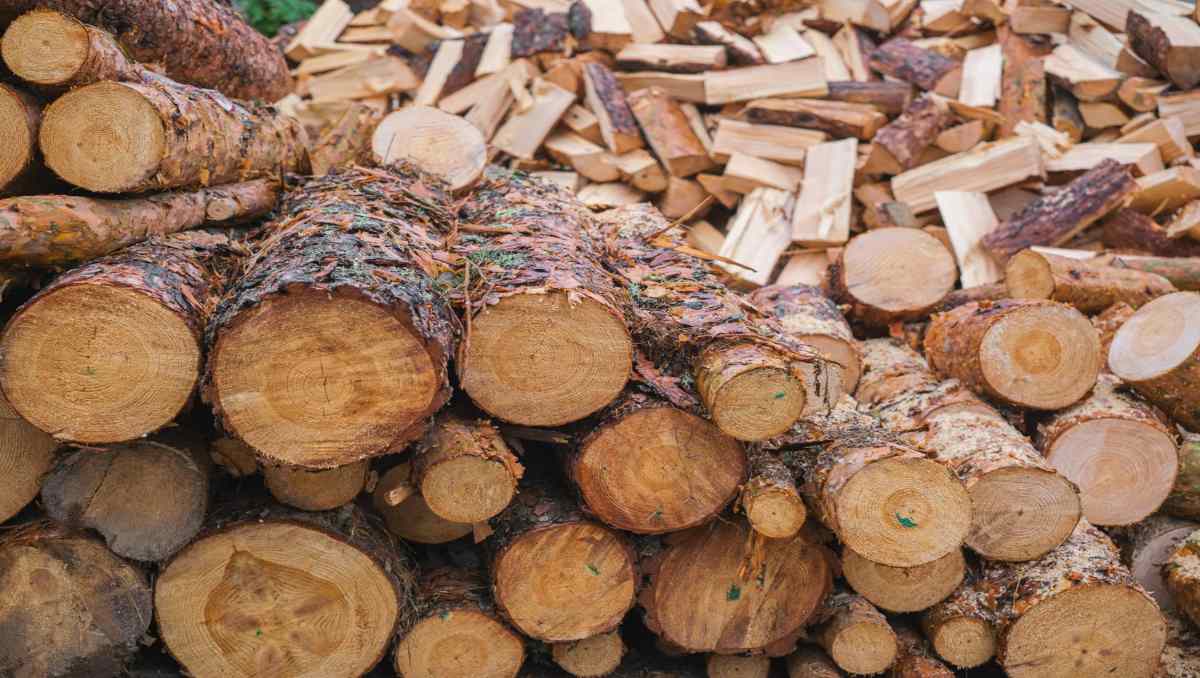
Wood identification can be very confusing and overwhelming at first, but it’s … Read more
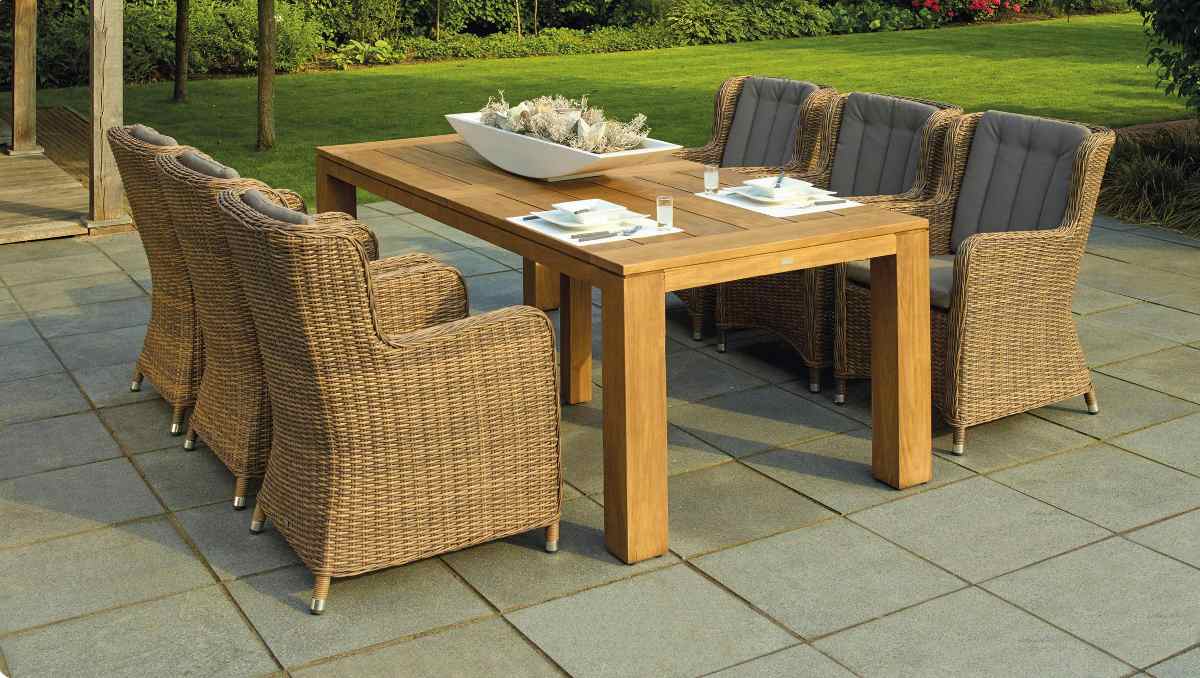
The material you choose for outdoor furniture can transform your outdoor space … Read more

When it comes to choosing the right wood for your project, maple … Read more
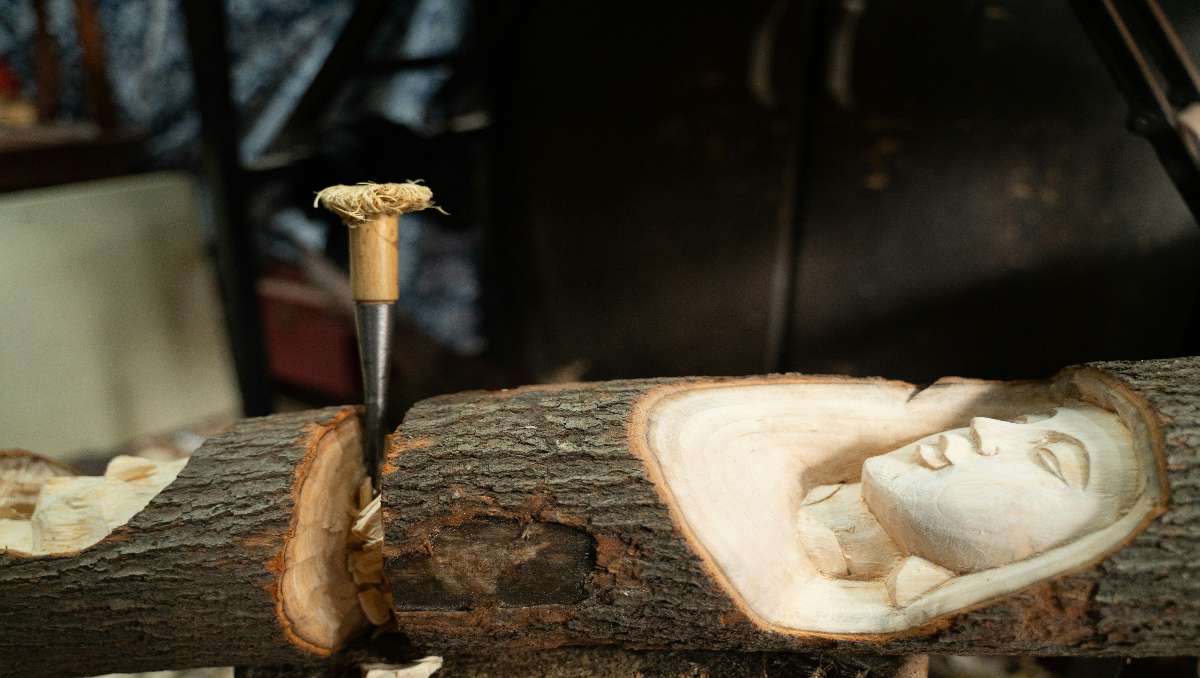
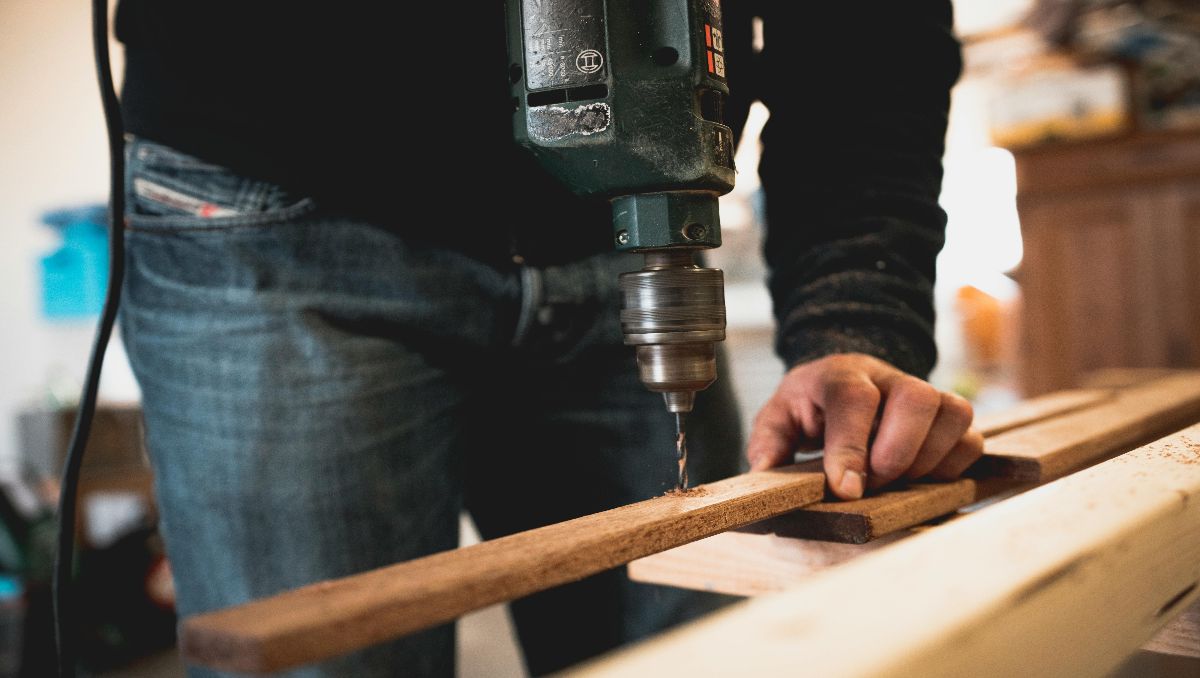
Learning woodworking isn’t just about picking up a new hobby—it’s about gaining … Read more
Woodworking can be an incredibly rewarding hobby or profession, allowing you to … Read more

Wood furniture adds warmth, character, and often a touch of history to … Read more

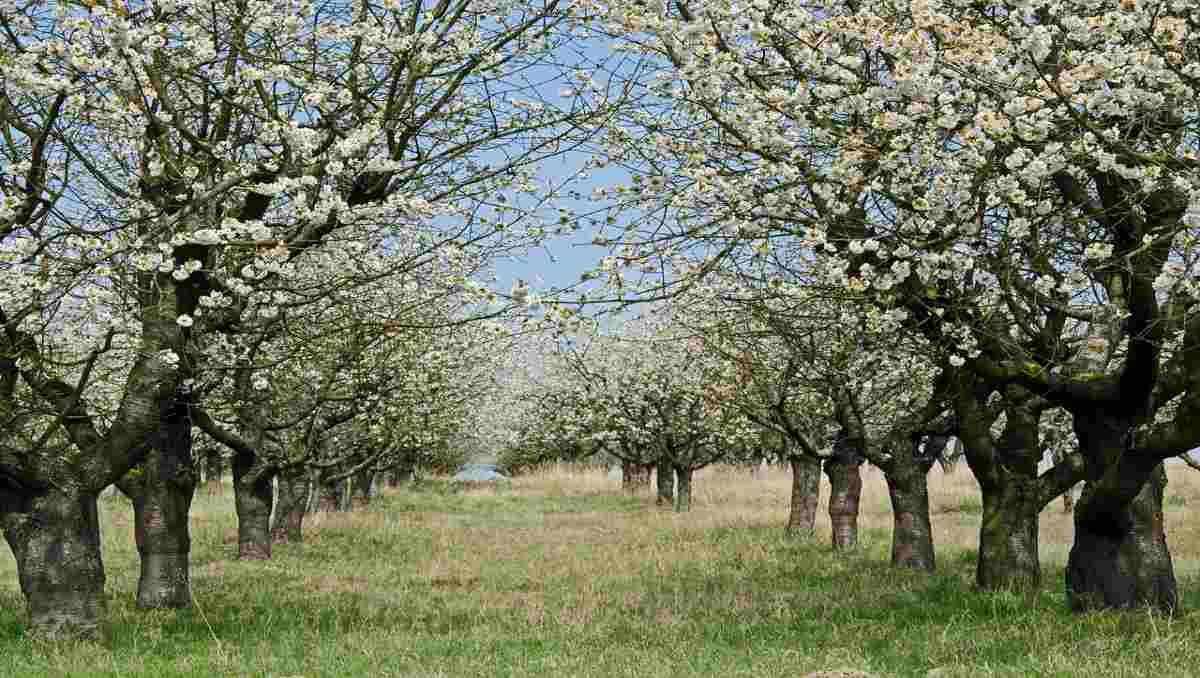
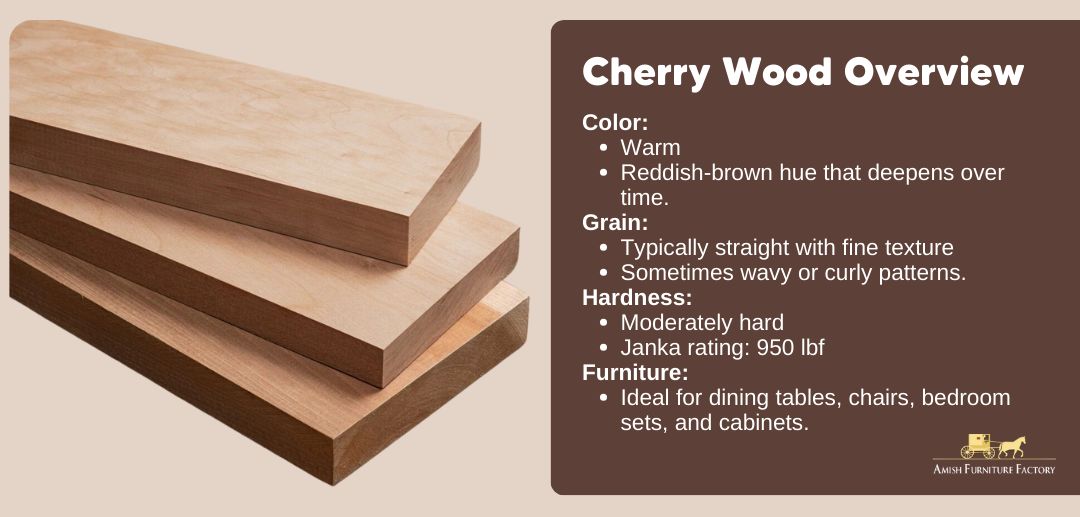
Cherry wood is a favorite among woodworkers and furniture lovers, celebrated for … Read more
Choosing the right wood for your home’s furniture is an important decision. … Read more

When it comes to selecting quality furniture, the type of wood you … Read more
When choosing furniture, the type of wood you select can make a … Read more
When selecting the right wood for your furniture, the decision can be … Read more

Selecting the right type of wood, such as cherry or walnut, is … Read more
When it comes to crafting exquisite furniture or designing a warm and … Read more
